CSS Basics
When you start designing your site, you’ll want to build and iterate over different options to structure your designs. In this lesson, we’ll cover all the ways you can do this without leaving our WebbsAI No-Code Editor. Today’s objectives will cover the following:
- Colors and Backgrounds
- Typography
- Borders
By exploring these key elements, you’ll be able to gain the skills needed to enhance the structure of your web content on WebbsAI.
CSS Colors and Backgrounds
Colors
If you wish to modify the text or foreground color of your element, our editor offers a straightforward solution.
How to change colors in WebbsAI:
To modify text or foreground color, head to Styles > Typography. The Color option in that section allows you to choose from a range of options whenever you select an element that contains content.

To set a color, enter a hexadecimal value in the Hex cell or specify an RGBA value. For example, entering #C91616 for red instantly changes your text color:
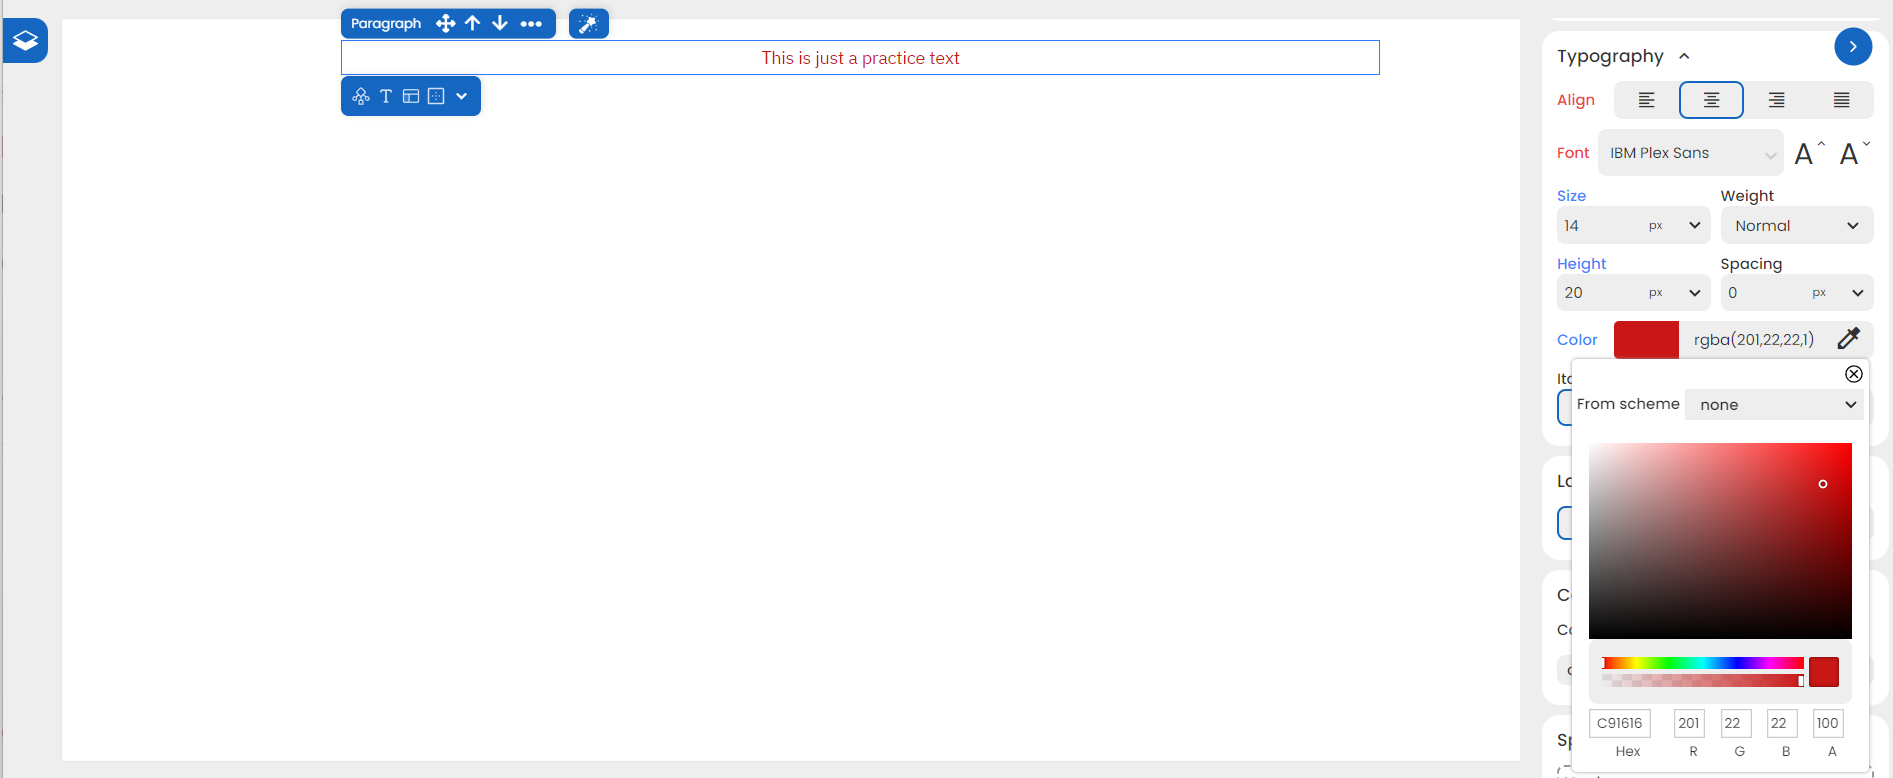
You can also use the dropper option for easier access!
To better understand the color options made available to us, let’s explore each format:
-
Keywords:
- Refers to predefined names like blue, red, etc.
-
Hexadecimal Notation:
- Define colors using a 6-digit hexadecimal value (0-9 or A-F) preceded by a ’#‘.
- In WebbsAI, you must specify the 6-digit value corresponding to a color.
- For instance, if I want my text to be a mahogany red color, I can simply search its hex code and then write down the found value 670A0A in the cell.
Don’t worry if you can’t understand the format for now. Through a quick internet search, you can always get the relevant values!
-
RGBA Notation:
- Utilize RGBA functional notation with decimal values from 0 to 255 and an alpha channel for opacity (0 to 100).
- The opacity refers to the degree of transparency an element possesses. The higher the opacity, the more visible an element will be.
- In the WebbsAI editor, the alpha value will range from 0, which is fully transparent, to 100, which is fully visible.
- You can use the RGBA value obtained from the internet for the previously quoted mahogany red to get the same color.
-
Color Schemes:
- Provides a predefined option of colors that help set the theming for your site.

-
It provides four main values:
- Primary Color: It is the dominant color in your design. This color is often used for backgrounds or prominent UI elements, and aligns with your brand or the overall theme of your project.
- Secondary Color: It complements the primary color. This color can be used for text, buttons, and other accents.
- Neutral: A versatile tone that provides a balanced backdrop for the primary and secondary colors. They’re often used for the background to maintain readability and a clean aesthetic.
- Danger: It defines vibrant and attention-grabbing colors, with red being the most common. We can use it to convey warnings, alerts, or error messages.
-
These values can be set from Styles > Color Schemes.

- Whenever you need to set a color for a specific purpose, the ‘From Scheme’ drop-down is just a click away.

As you practice navigating through different desirable color styles, feel free to experiment with these options!
CSS Syntax:
color: [value];Example:
selector {
	color: "blue"; /* sets predefined blue color */
	color: #0000ff; /* sets hexadecimal equivalent of the blue color */
	color: rgba(0, 0, 255, 0); /* sets rgba value for blue color */
}
Note that the selector here is just a generic placeholder and can be any element, class or ID. Additionally, CSS allows the range of opacity from only 0.0 to 1.0.
Backgrounds
How to change backgrounds in WebbsAI:
Head to Styles > Backgrounds in your WebbsAI editor:
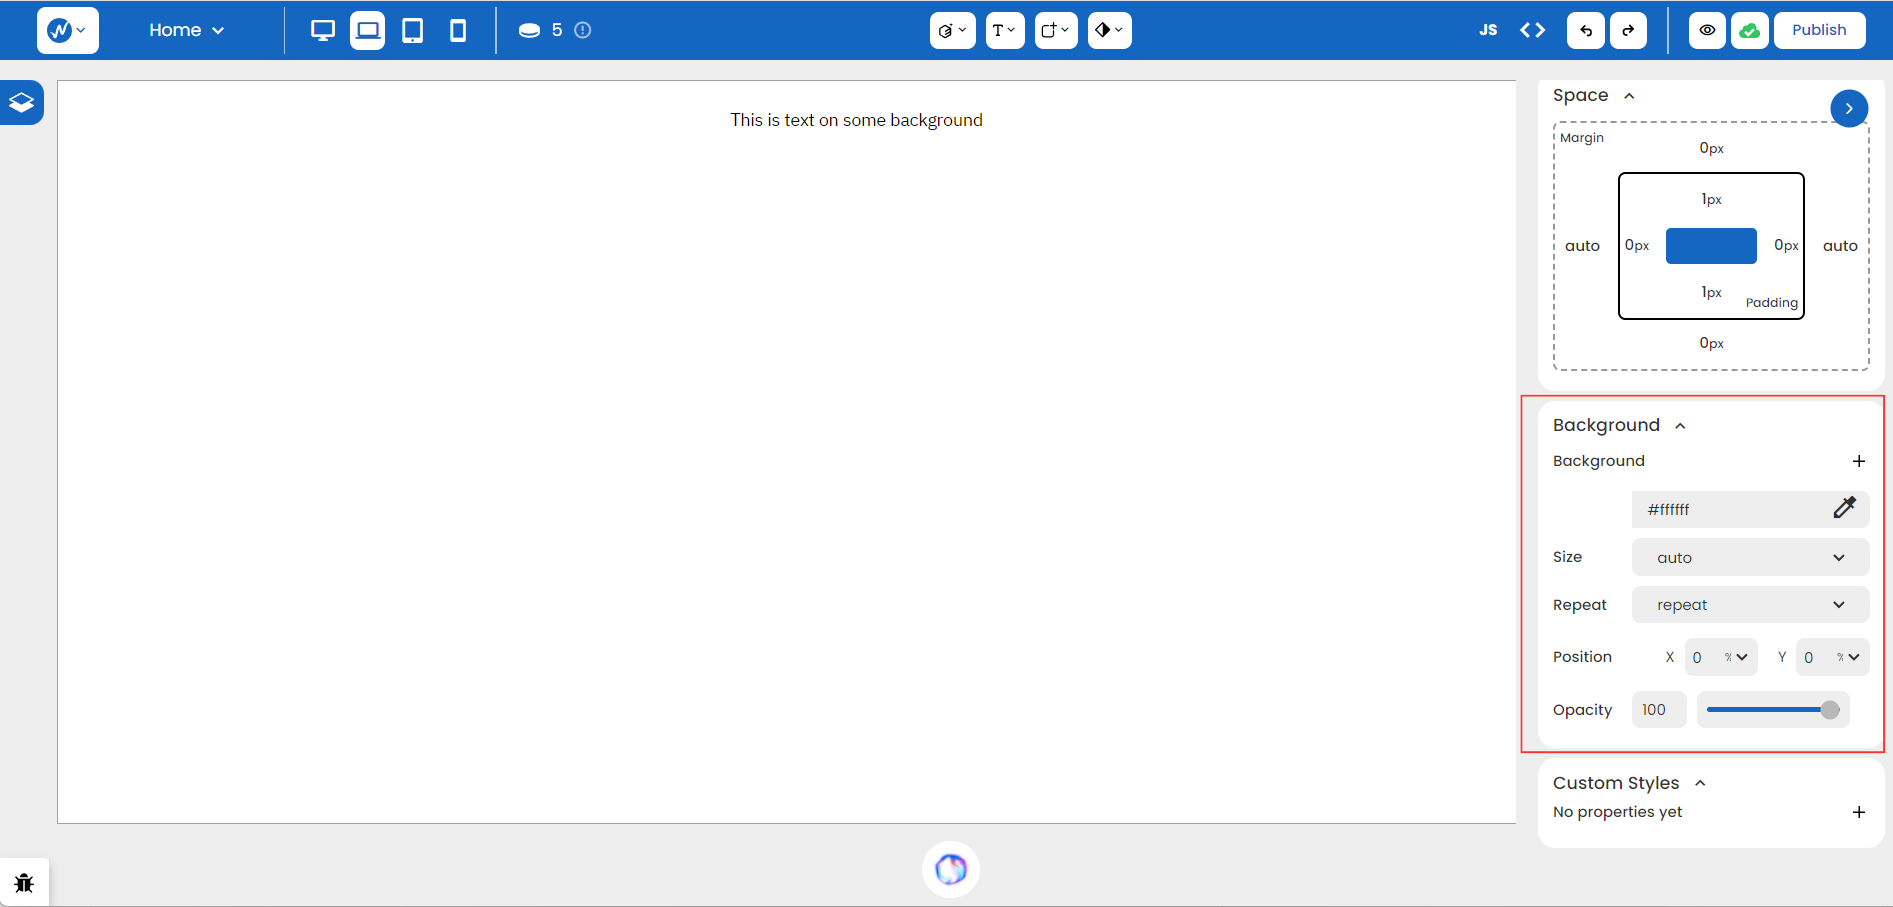
Let’s break down what we see:
-
Notice the ’+’ sign to the right of the subheading Background. It opens up an image option.
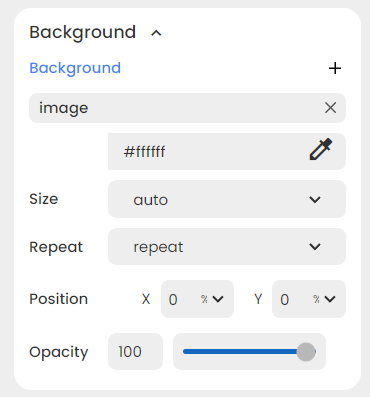
You can use the dropdown to access additional options for your field:
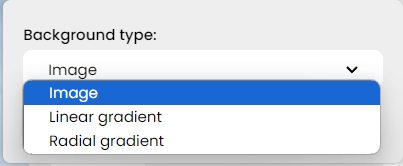
Here, you can not only select an image but also incorporate different gradient designs in a very user-friendly way.
-
The Background Color allows you to opt for a background color by specifying a hexadecimal or RGB value, or using the dropper tool for precision:
-
You can use Size to help you set the size of your background. WebbsAI provides you with four different options:
- auto: background image keeps its original size.
- contain: background image is scaled to fit within the positioning area.
- cover: background image is scaled to cover the entire positioning area.
- custom: background image is a size of your choosing. When you select this option, two input fields open up below. You can then specify the width and height to adjust your image.
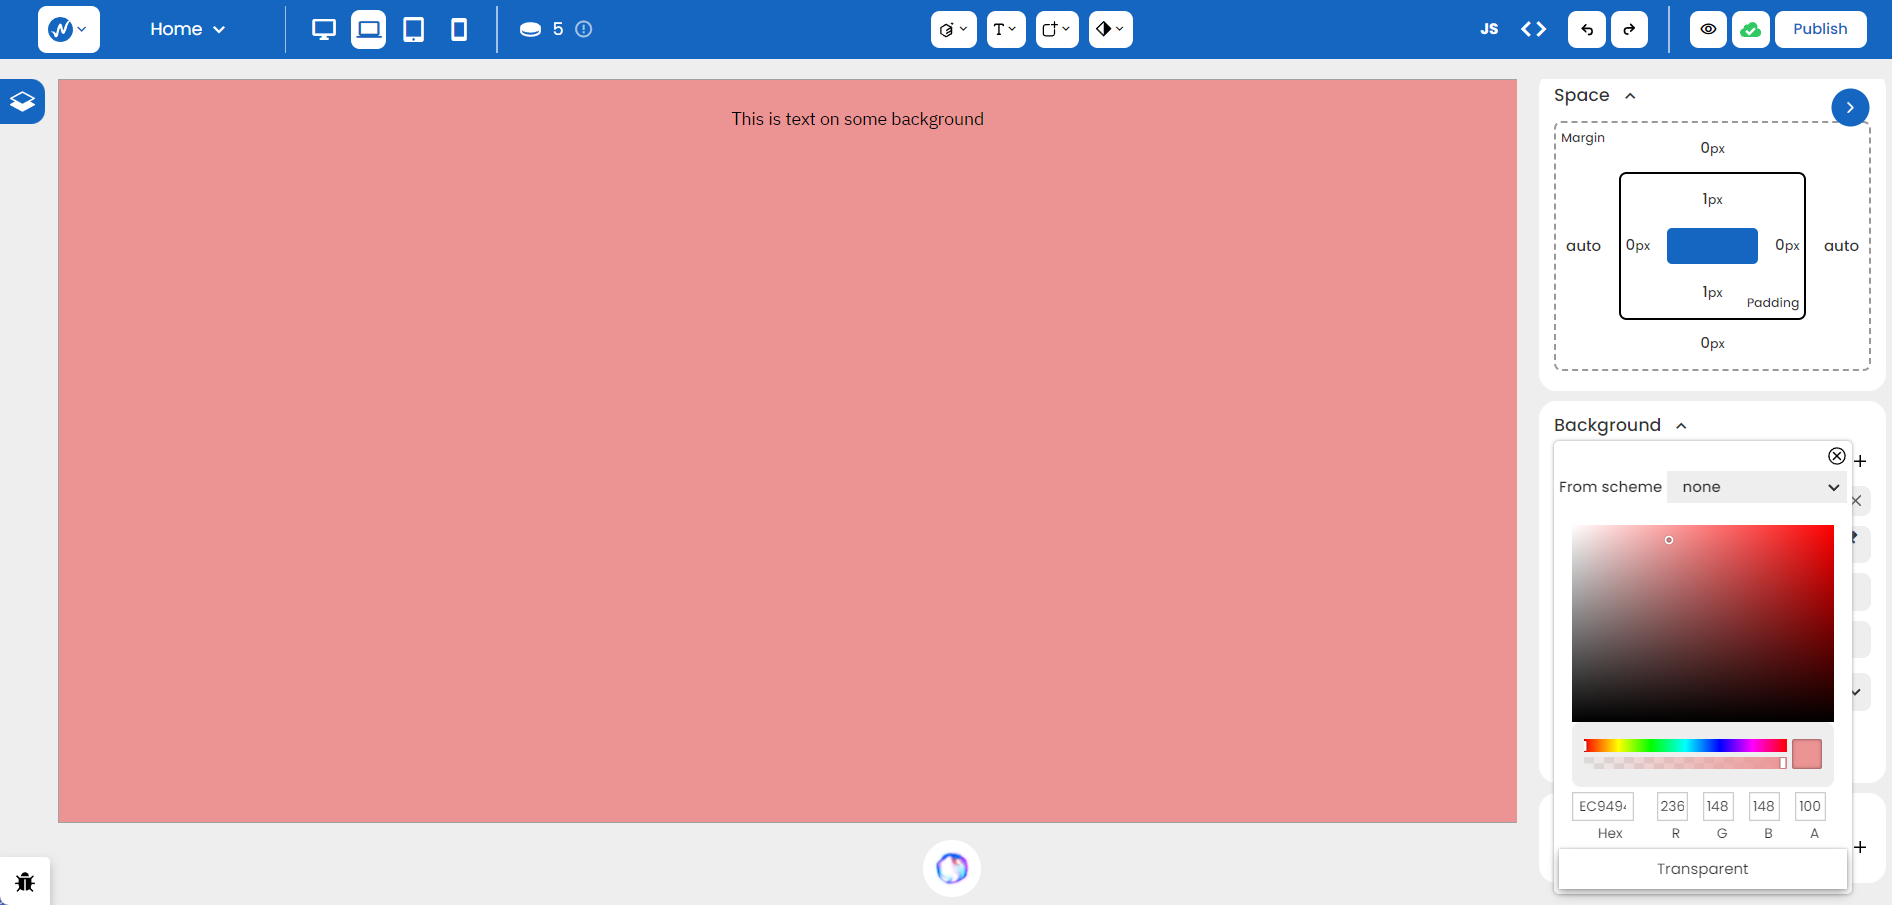
Imagine you’ve added a copyright-free image as a background using the first option:
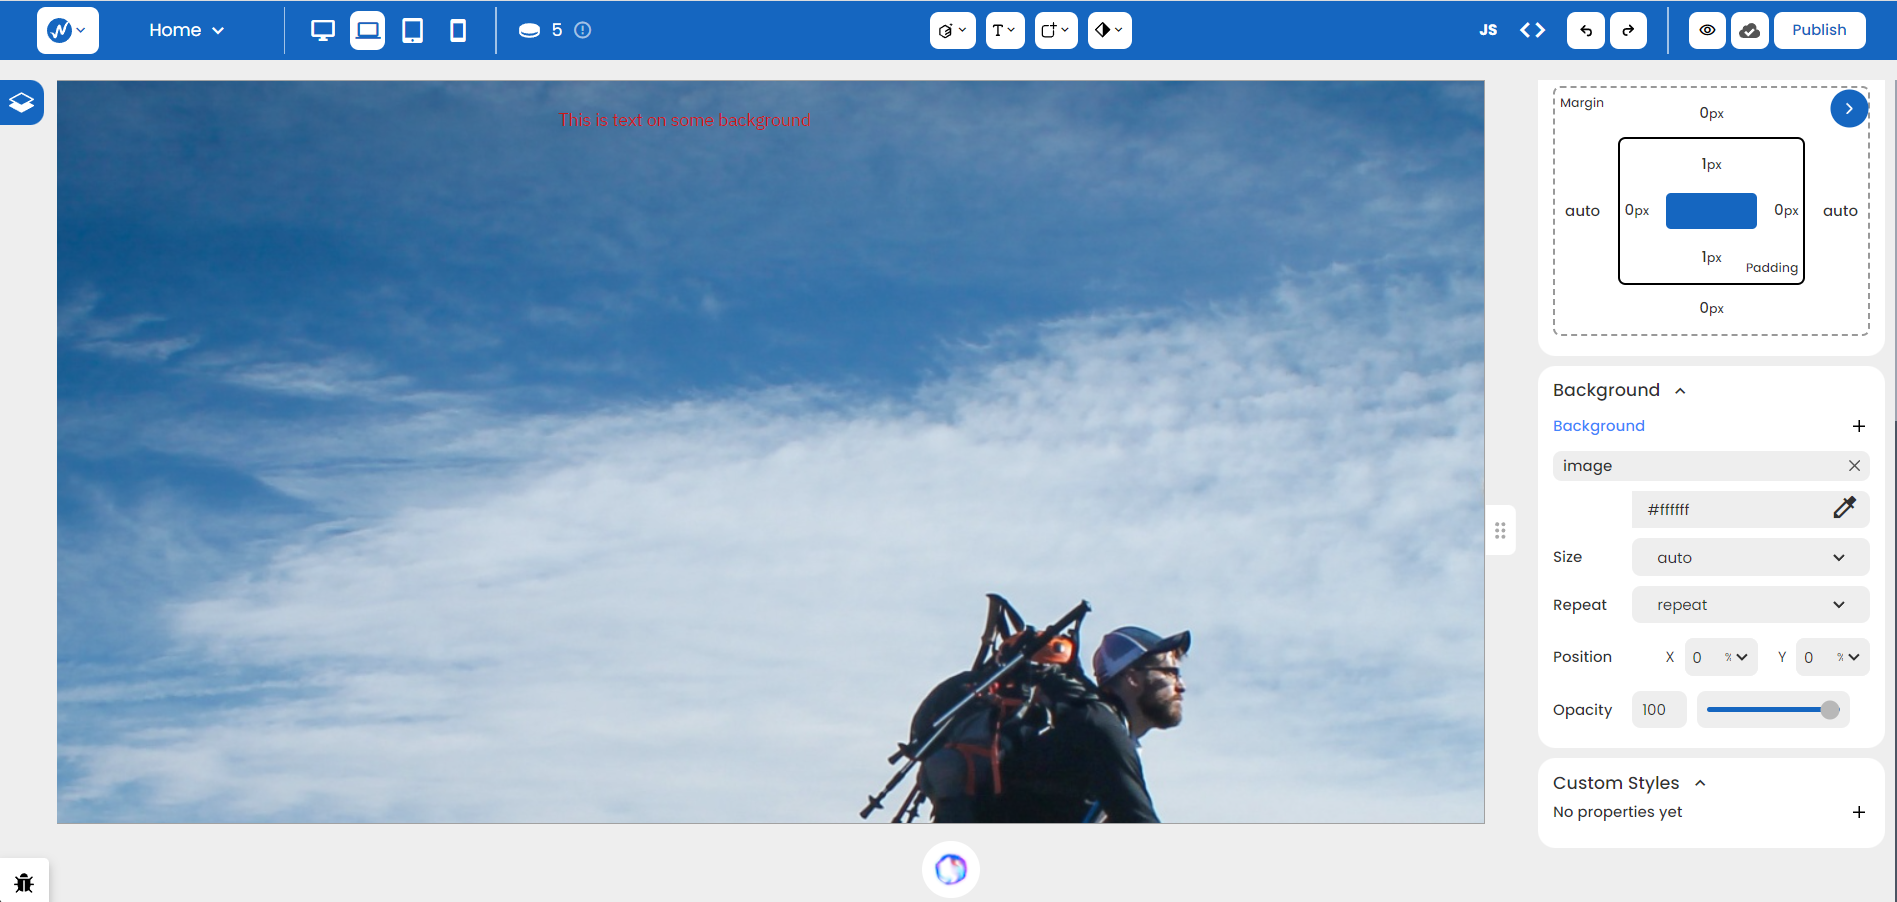
Notice how the image scales somewhat awkwardly because we’ve chosen ‘auto’ (preserving the image’s original size). What if we switch the Size option to ‘cover’?
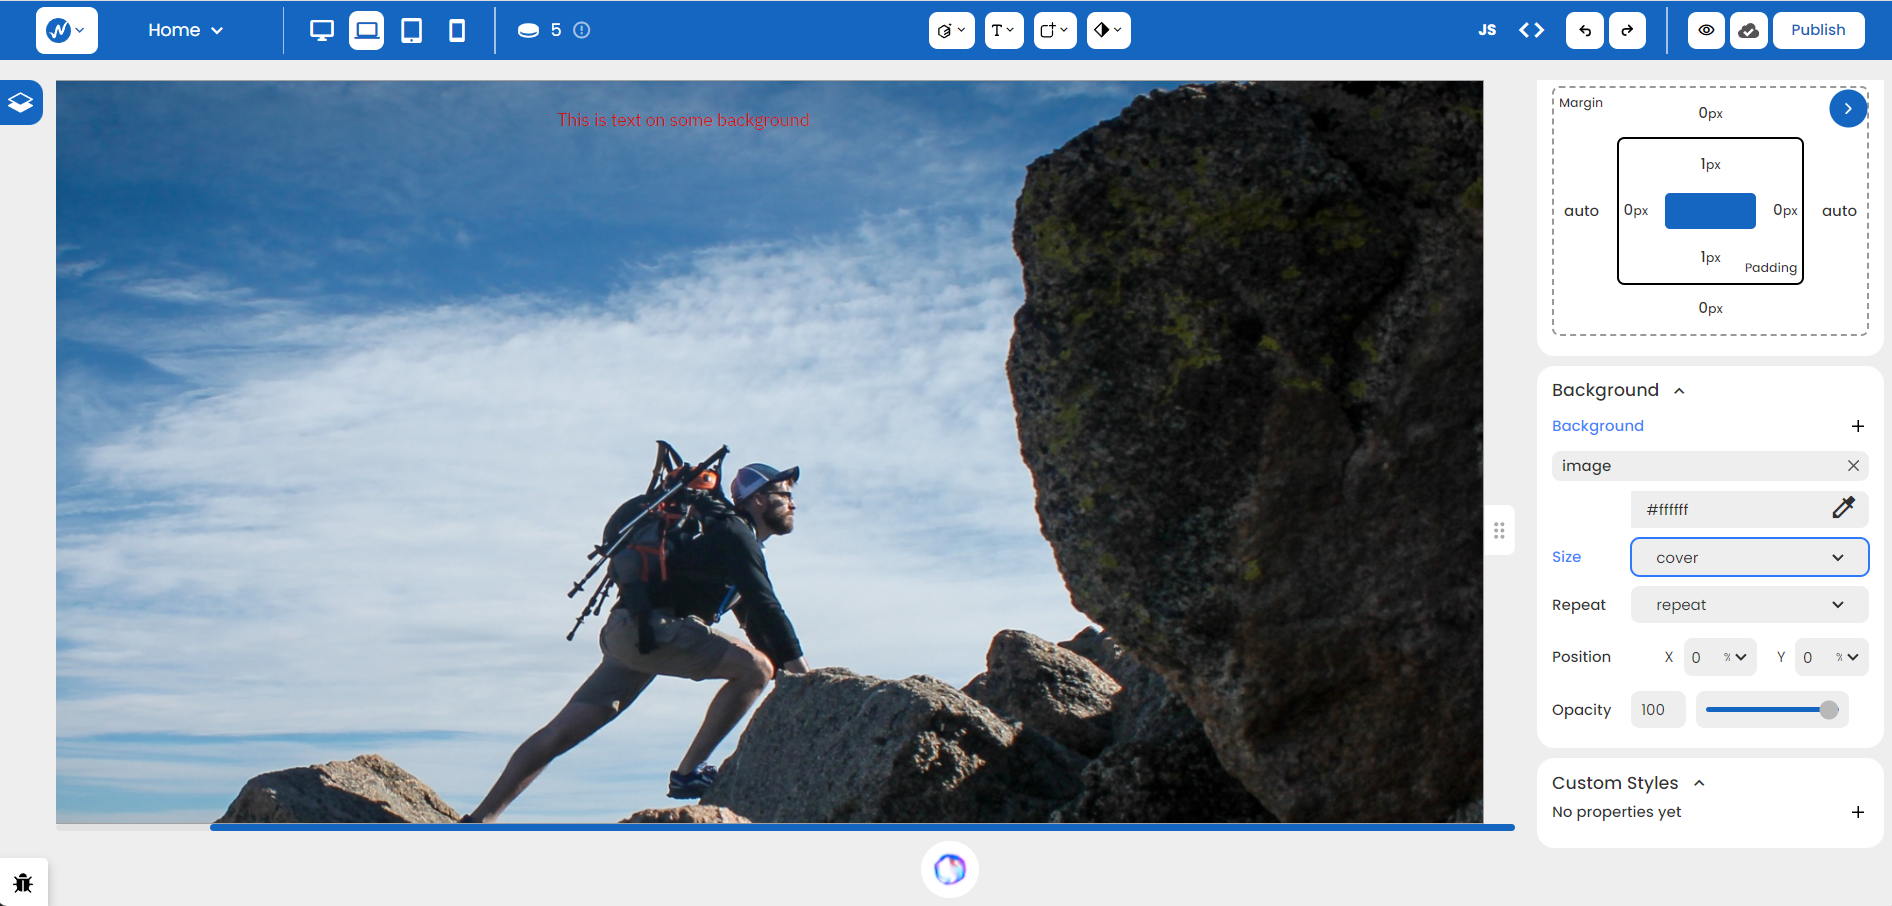
The image fits more perfectly now!
This is just one of the many simple ways you can utilize WebbsAI to create a compelling and powerful website.
-
With Repeat, you can decide how to repeat your image. The editor provides four different options:
- repeat-x: background repeats horizontally and makes a pattern along the x-axis.
- repeat-y: background repeats vertically and makes a pattern along the y-axis.
- repeat: background repeats both vertically and horizontally on the screen.
- no-repeat: background repeats once in its original size.
-
Position can help you choose the initial position of your background image. You can use the X cell to specify the distance from the left corner of the screen, and the Y cell will position the background a specified distance from the top of the screen. You can use any unit to carry this out.
-
As mentioned previously, Opacity will decide how transparent your background will be. The initial bar at 100 denotes complete visibility, and you can lower the visibility as you decrease the bar.
CSS Syntax:
-
Background Color:
Syntax:
background-color: [value];Example:
selector { background-color: #ffffff; /* sets a black color*/ } -
Background Image:
- Makes use of images to make your backgrounds look more vibrant.
Syntax:
background-image: url('background-image.jpg');The URL of your image will replace the ‘background-image.jpg’ above.
Example:
selector { background-image: url("image1"); /* Assuming our image has the name ‘image1’ */ } -
Background Repeat:
- Controls how the background image is repeated.
- It uses similar values for its property as provided by the editor.
Syntax:
background-repeat: [value];Example:
selector { background-image: url("image1.jpg"); background-repeat: repeat-x; } -
Background Position:
- Used to set the initial position of your background image.
- A variety of different value types can be used to position the background from pixels and percentages to keyword values.
Syntax:
background-position: x-position y-position;Example:
selector { background-image: url("image1.jpg"); background-position: top left; /* image is positioned at the top left corner of your site */ } -
Background Size:
- Controls the size of the background image.
- Allows you to specify how the background image should be sized in relation to the element’s background positioning area.
- Uses similar values provided by the editor.
Syntax:
background-size: [value];Example:
selector {
	background-image: url("image1.jpg");
	background-size: cover;
}
Typography
CSS typography is all about styling the text content on your webpage, whether it is giving it a vibrant color or moving it around on the site.
How to change text in WebbsAI:
Go to Style panel > Typography to view the section:

We can make use of any of the options in Align to shift the text a certain way:

If the current font is not to our liking, we can change it through the array of options provided in the Font dropdown. For instance, it can be changed to ‘Roboto’ simply through an input.

Not only does WebbsAI define a text cell for adjusting the Size of your text, but the two font icons above perform an increment or decrement through simple clicks.

You can always adjust the thickness of your text by making use of Weight. From making the text lighter to bumping it up to the thickest black, it’s simply a matter of knowing which feature to use best.

To widen your headings or make your text appear more readable, you can set the Height and Spacing values to whatever looks good!

This looks much cleaner now! You can always improve on it further by adding more detail through Color, Italicize, and Decoration.
CSS Syntax:
-
Font Family:
- Specify a preferred font for an element. There are two categories of font families: - Generic font families: They are the default set of fonts used by the browsers and in the case where specific fonts do not load or aren’t available, the browser falls back to any font in this family. Examples of those fonts are serif, sans-serif, and monospace. - Specific font families: They are of distinct font styles and have unique names. They are the families mostly used for styling. This category includes Helvetica, Times New Roman, and Roboto.
Syntax:
font-family: [specific family], [generic family];If there are spaces in any of the font names (like Times New Roman), then those family names are enclosed in double quotes.
Example:
selector { font-family: "Courier New", monospace; font-family: Arial, serif; } -
Font Size:
- Specify the size of the text content in an element using pixels, percentages or any other unit system (we use pixels for now).
Syntax:
font-size: [value];Example:
selector { font-size: 24px; } -
Font Weight:
-
Defines the thickness or boldness of the font characters.
-
This property accepts a range of values:
-
Keywords:
- normal: text will be represented as default thickness.
- bold: text will be bolded.
- bolder: text’s boldness will increase.
- lighter: text’s thickness will reduce from the default.
-
Numeric Values:
- The range goes from 100 to 900 where 100 has the least amount of thickness or boldness and 900 has the highest. 400 is the default thickness.
Syntax:
font-weight: [value];Example:
selector { font-weight: bold; font-weight: 600; \* The two examples are equivalent *\ } -
-
Text Alignment:
- Aligns text within an element.
Syntax:
text-align: [value];Example:
selector { text-align: justify; } -
Text Decoration:
- Controls the decoration of text, such as underlines. It has four most common values:
- none: The text is in the default style.
- underline: There is a line added beneath the text.
- overline: There is a line added above the text.
- line-through: There is a line that strikes through the middle of the text.
Syntax:
text-decoration: [value];Example:
selector { text-decoration: none; } - Controls the decoration of text, such as underlines. It has four most common values:
CSS Borders
CSS Borders help define the boundaries around HTML elements, giving you a free way to design edges in any way you like.
How to change borders in WebbsAI:
Located near the end, the Styles > Borders is another great tool that can help you define the boundaries of an element.

You have simple choices like varying the Color and Width of a border. When you set the width to ‘5’ and the color to ‘black’, the change becomes clearer and more noticeable.

The Style of a border determines what ‘kind’ of a border works well with an element. WebbsAI provides a diverse range of styles, eliminating the need to make repetitive adjustments in your code.

Maybe you want to achieve styling on a specific side of an element or maybe you prefer a clean, borderless look. Just select the appropriate side you want to modify and adjust the properties on the right. For instance, the right border below has its width increased to ‘7’.

Another interesting property about borders is Radius. It provides an option for ‘All Corners’ for one collective radius value or ‘Individual Corners’ that can take in varying values for every corner.


CSS Syntax:
The ‘border’ property is a shorthand property that allows you to set the width, style, and color of the border in one declaration. It can be used for all HTML elements.
Syntax:
border: [width] [style] [color];-
width: Specifies the width of the border, and can be set in pixels, ems, rems, percentages, or other length units. For example, to set a border with a width of 1px:
border: 1px; -
style: Determines the style of the border. It has the common styles solid, dashed, dotted, double, and more. For example, to get a solid border of 1 px:
border: 1px solid; -
color: Sets the color of the border. So, you can set a 1px solid border of a red color as:
border: 2px dashed rgb(255, 0, 0);.
Example:
selector {
	border: 1px solid #999;
}
Conclusion
Ultimately, your design decisions rely on your creativity - WebbsAI only serves as the tool that assists you on your way towards a more powerful and compelling website.