Introduction to HTML
For beginners venturing into the world of web development, understanding HTML is the most basic but very crucial step. It stands as the foundation upon which the entire web is based.
In this guide, we’ll explore the basics of HTML, covering important tags and elements to help you grasp the essentials with confidence.
What is HTML?
HTML, or Hypertext Markup Language, is the standard language for creating web pages. An important thing to keep in mind for HTML is that it’s not a programming language but simply, a markup language- a way of adding special codes or tags to text to tell a computer how to display it.
HTML is like giving the computer instructions on how to format and arrange the text so that everything is neat and organized. Think of it as the blueprint for a webpage.
HTML Document Structure
An HTML file is composed of tags and elements that act as building blocks of web pages.
-
HTML Tag: It is a label, enclosed in angle brackets, that performs a specific function. An example for this can be
<p>and</p>tag. The<p>stands for the start of a paragraph, and</p>denotes the end of a paragraph. -
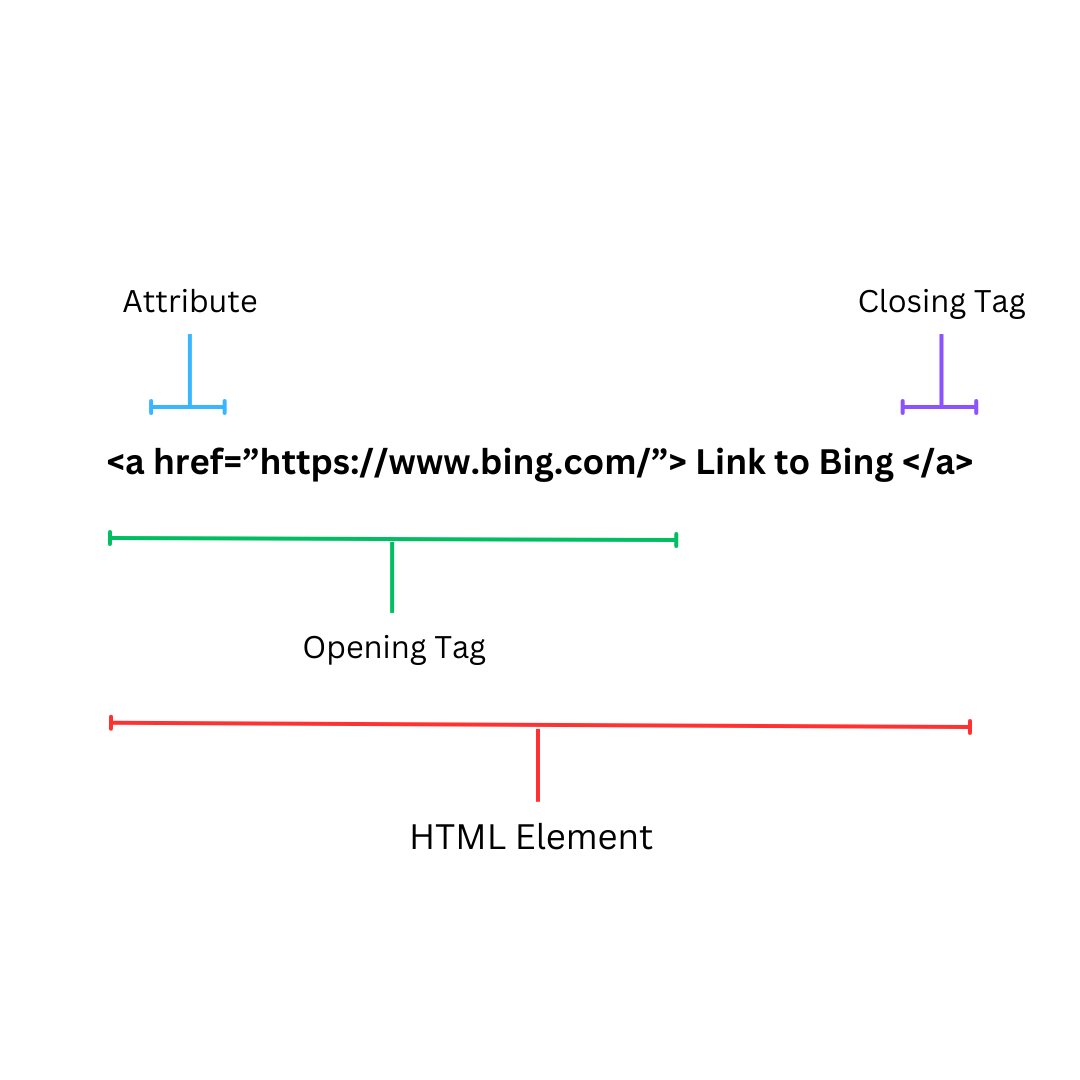
HTML Elements: They consist of an opening tag, the content enclosed between the tag, and a closing tag. For example,
<p>This is a paragraph</p>
A visual representation of the application of the concept is demonstrated below:
 To understand the concepts and structure more quickly, it is suggested that you open up Notepad on your Desktop (or simply, search for an Online HTML Compiler on Google).
In your file, type in the following contents:
<!doctype html>
<html>
<head>
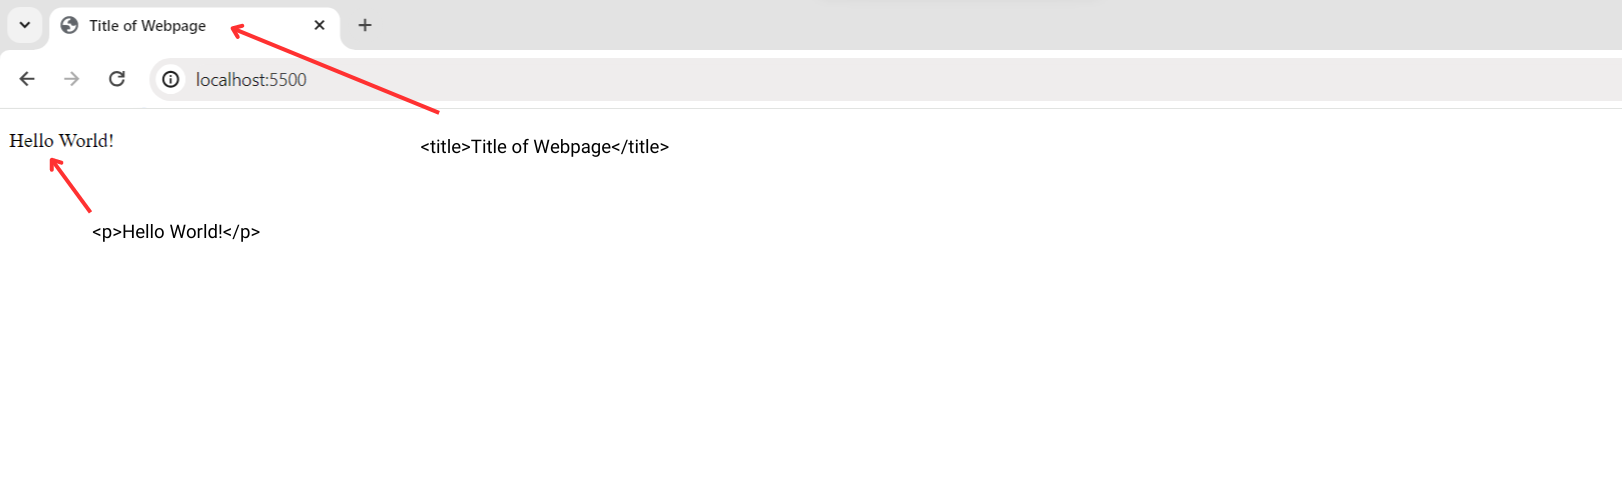
<title>Title of Webpage</title>
</head>
<body>
<p>Hello World!</p>
</body>
</html>Explanation:
-
<!DOCTYPE html>: This line defines the document type and version of HTML you are currently using (Latest: HTML5). -
<html>: A root element that defines your HTML document. -
<head>: A tag that contains information about your file (For example: It currently holds the page title). -
<title>: A tag used to set the title of the webpage. You can see it appear on your tab for this file or the browser title bar. -
<body>: A tag that will house most of the content you will see in your browser (For example: While it currently holds a paragraph tag, it can also contain headings, images, tables and many more!). -
<p>: A tag that defines a paragraph of text.
When you are done, save the file on your laptop with a .html extension. Go to the folder where you’ve saved this file, and open it using any browser installed on your laptop. This will open your HTML file in your default browser.
To visually explain what the above lines of code do, you will be shown something like this:
Congratulations! You’ve just created your first HTML document. This is just one of the many milestones you’ll achieve as you cover these lessons. For now, we shall head on to the next sub-topic in this lesson.
Basic HTML Tags
There are certain basic tags that act as a backbone for an HTML file. Some of them are explained below:
-
Headings (
<h1>to<h6>):<h1>to<h6>tags are used to define headings on a webpage, with<h1>being the highest level and<h6>the lowest. For example:<h1>This is a Level 1 Heading</h1> <h2>This is a Level 2 Heading</h2> <h6>This is a Level 6 Heading</h6>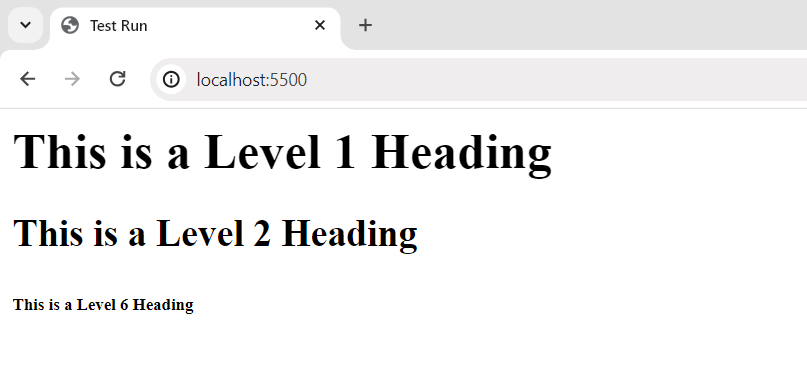
-
Paragraphs (
<p>):The
<p>tag is used to create paragraphs of text. It’s an essential element for organizing and structuring textual content:<p>This is a paragraph text</p> <p>It is used to represent general content and text</p>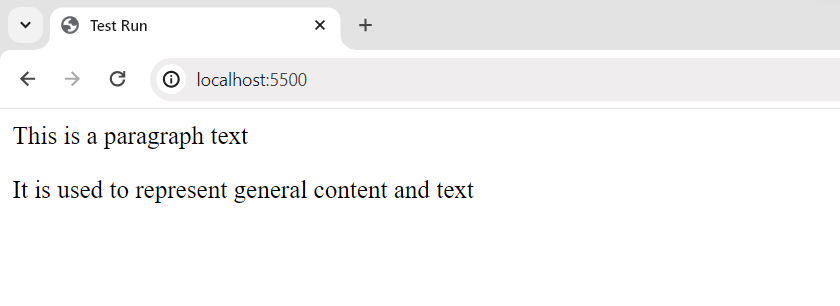
-
Links (
<a>):The
<a>tag is used for creating hyperlinks. It requires the href attribute, which specifies the URL to link to. For instance:<a href="https://www.google.com”> This link will take you to Google’s homepage </a>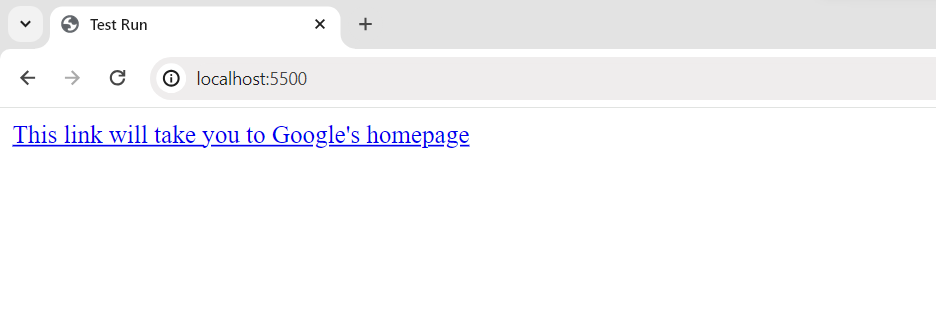
-
Unordered List (
<ul>):The
<ul>tag creates an unordered (bulleted) list. It’s great for presenting items without any specific order.<ul> <li>Item 1</li> <li>Item 2</li> <li>Item 3</li> </ul>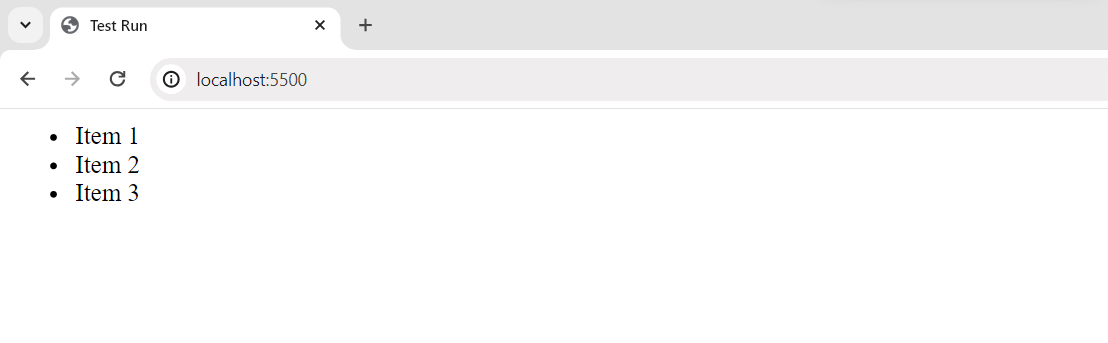
-
Ordered List (
<ol>):The
<ol>tag creates an ordered (numbered) list. This is useful when you want to list items in a specific sequence. For Example:<ol> <li>First Item</li> <li>Second Item</li> <li>Third Item</li> </ol>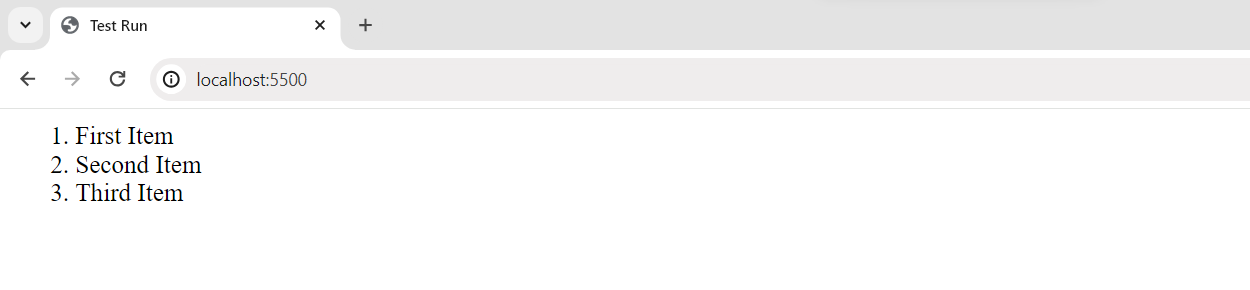
-
Break (
<br>):The
<br>tag represents a line break. It’s used to force content after the tag to appear on a new line.<p> This is some text.<br /> And this text appears on a new line. </p>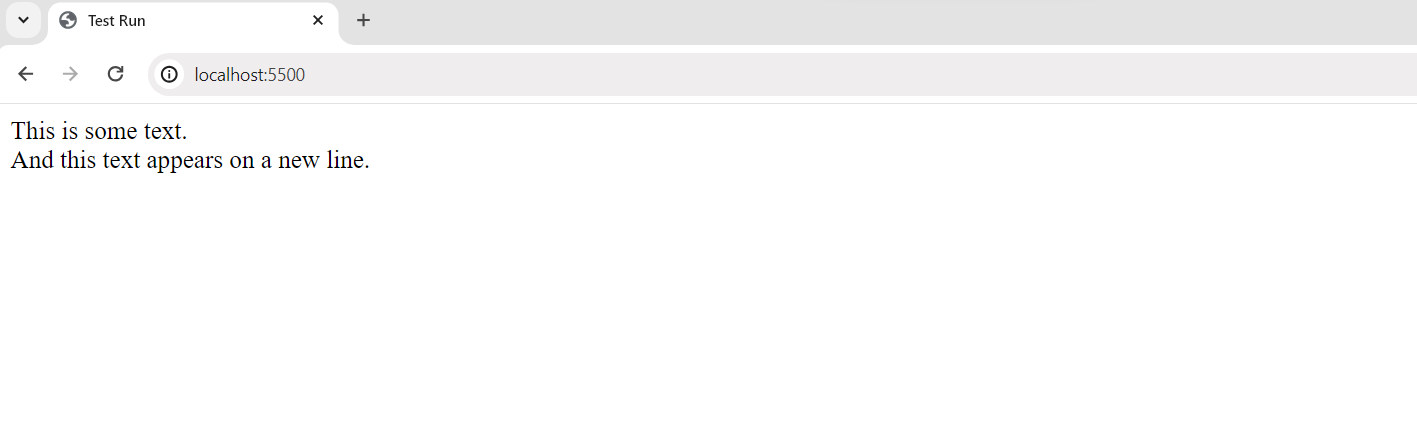
-
Container Tag (
<div>):The
<div>tag is a container for grouping and styling elements. It’s often used for layout purposes, allowing you to apply styles or structure a webpage’s content. Think of it as a box that can hold or group different HTML tags and elements.<div> <h6>This is a div container.</h6> <p>It can hold several elements at once</p> </div>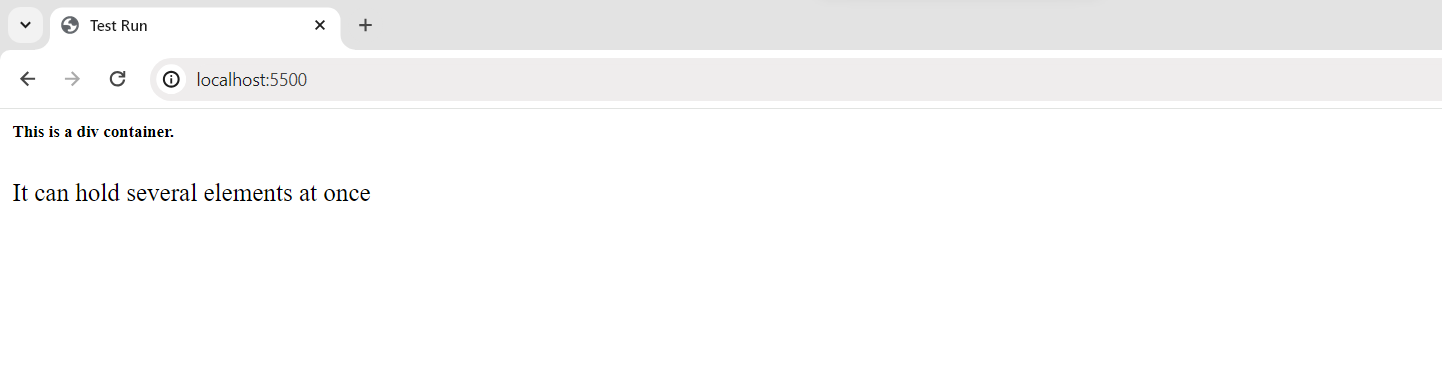
Important Characteristics to Remember
Case Insensitivity
HTML tags are not case-sensitive which means you can either write using uppercase or lowercase letters (However, it is a widely-adopted convention to use lowercase letters).
This means that <h2> Heading 2 </h2> and <H2> Heading 2 </H2> are the same.
Nesting
HTML tags can be nested inside each other, so you can place one element within another. For example, you can nest a <strong> tag (for bold text) inside a <p> tag to make some text within a paragraph bold.
Hierarchy
HTML tags follow a hierarchical structure. Certain tags, like <html>, <head>, and <body>, define the structure of the entire page while others, like headings, paragraphs, and lists, define the structure of the content within the page.
Self-Closing Tags
Certain HTML tags, like <img>, <br>, and <input>, are self-closing. They don’t require a separate closing tag because they are used to insert specific elements or objects into the page (Refer to the example of the break tag given above for further clarity).
Whitespace
In HTML, no matter how many white spaces you include within a line, the browser’s CSS engine automatically collapses them.
For example, tags like: <p>Hello World!</p> and <p>Hello World!</p> both provide the same output as follows:
Practice with us
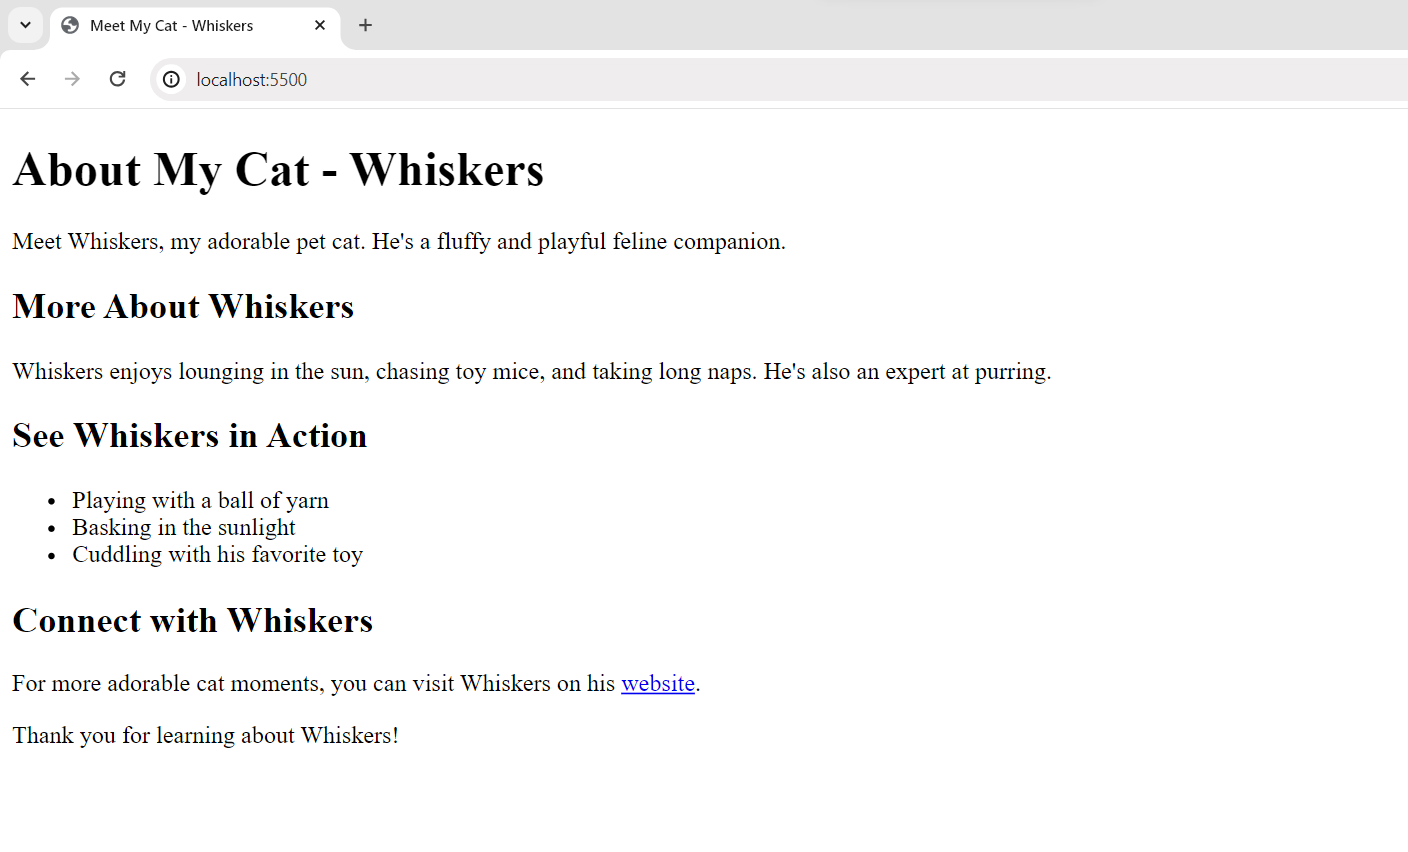
Scenario: Imagine you have to create a webpage to introduce your pet cat and provide some basic information.
This is how your output should look:
Before you head on over to study the solution provided below, we suggest you give it a try on your own first. Comparing your solution with ours will give you a much better understanding of how HTML actually works.
To map the scenario, we can highlight a few things about a pet cat:
-
A concise line that introduces your cat- this is something that constitutes a title so it goes in the title tag for your readers to see.
-
Highlighting your cat’s basic details- this is something we want the eye to catch first, so writing them as appropriate headings would be a good idea.
-
Providing a little description about your cat- this constitutes a
paragraph, so using a paragraph tag would represent it concisely. -
We can characterize the cat’s whereabouts in a list-like format so
that it is represented in a clear manner. -
If we have a particular webpage or link in mind that could tell the
users more information about Whiskers, we can use the anchor tag to show all this.
Here’s a basic HTML document with content for this scenario:
<!doctype html>
<html>
	<head>
		<title>Meet My Cat - Whiskers</title>
	</head>
	<body>
		<h1>About My Cat - Whiskers</h1>
		<p>
			Meet Whiskers, my adorable pet cat. He's a fluffy and playful feline
			companion.
		</p>
		<h2>More About Whiskers</h2>
		<p>
			Whiskers enjoys lounging in the sun, chasing toy mice, and taking
			long naps. He's also an expert at purring.
		</p>
		<h2>See Whiskers in Action</h2>
		<ul>
			<li>Playing with a ball of yarn</li>
			<li>Basking in the sunlight</li>
			<li>Cuddling with his favorite toy</li>
		</ul>
		<h2>Connect with Whiskers</h2>
		<p>
			For more adorable cat moments, you can visit Whiskers on his
			<a href="https://www.whiskerscat.com">website</a>.
		</p>
		<p>Thank you for learning about Whiskers!</p>
	</body>
</html>
Conclusion
This concludes the beginning of your Web Development journey. Through HTML, you can build and design amazing things on the internet. You can structure text, create links, and as you’ll learn further, add tables and images to your document.
So, keep learning and practicing as you progress with us.